How to make your own "Make Your Own Adventure" in PowerPoint!

 1.

Hello there and welcome to the tutorial!
First off, we need to open Microstof Power Point.
To do this, click on the start menu at the bottom left of the screen, click 'All Programs" scroll down to and click on "Microsoft Office" and then click on "Microsoft PowerPoint"!

 2.

 Great! Now that we've got PowerPoint open, we can really get started.

 3.

 Okay, so what we need to do now is get rid of these unwanted boxes. Let's just click the screen in the gray area and drag the mouse so a box covers everything that we don't want.

Then we can let go of the mouse button!

 4.

 Now there are a bunch of dots around these things we don't want.

Just press the 'delete' key...

5.

 ... and hey! They're gone!

6.

 If you click where the red cirlce is, you'll be able to create a 'Text Box'

Once you've selected it, just click and hold where you wish to put it, and then drag it to make it bigger!

 7.

 Your text box should look something like this.

 8.

See, I told you!


Type whatever you like on this box to have a practice.

 9.

 Now we're getting somewhere!

You can type the beginning of your story here.

 10.

You'll need to add your choices in as well.
To do that just add some more text boxes in. If you forget how, just head back up to step 6!

 11.

Now we need to make a new slide for the next part of the story.

Move your mouse to the right side of the screen and right click the gray area near that red circle in the picture above.

A little menu should pop up, move the mouse to "New Slide" and give it a good click.

12.

 Oh look we've got a new slide! Don't worry, your other slide is still there.

You'll need to clean up the page like we did at step 3, so head up there now if you forget how!

 13.

 I've gone ahead and put in some text boxes for the next part of my story.

In this case, I wrote about what would happen if you chose to walk 'Left'

Go back to step 6 if you forget how to create text boxes!

 14.

 Now you need to go back to the first slide so we can link the slides together.

Go ahead and click the area in the red circle to go back to the first slide.

 15.

 Now, you'll need to pay attention because it gets tricky here.

You'll need to Right Click the decision that your second page links from. In my case I clicked 'Left'

Then you'll need to Left Click the option called 'Hyperlink'

 16.

 Now a box will appear. you'll need to click 'Place in This Document' which is circled in red on the picture above.

 17.

 Then these options will appear.

This shows all the slides you have created already.

 18.

 Now the slide we created before was called 'Slide 2' so we'll click on that and then click 'OK' - both of these are circled in red.

You'll need to pay attention to what numbers your slides have when you create more, so you can link them up to the right places. The bits with yellow circles give a preview of the slide that we have selected!


 19.

 Now that we have linked our two pages together, we need to make it so that the slides will go in the order that you want them to, and not to the next numbered slide.

To do this, we need to go to the top of the page and find the button called 'Transitions' which is circled in red in the picture above.

 20.

 Now there's a little box up in the top-right of the screen that has 'On Mouse Click' written next to it.


Make sure this box IS NOT ticked!

 21.

 Now to make this work on all of the slides you have, and any more that you create click the button that says 'Apply to All'.

 23.

 It's time to test it out!

Go the the bottom-right of the screen and click the button that is circled in red on the picture above.

If you hover the mouse over the button it should say "Slide Show"

 24.

 I hope this worked for you! Text it out by clicking on the option that you linked to the slide.

To add more slides, just go back to step 11 and follow the instructions again from there, exept this time the slide will be called 'Slide 3' and the one after that will be 'Slide 4'

Don't forget this!

 How to add images to your slides!

 You're going to need to add images to your slides, so here's a very quick walkthrough of how to do this:

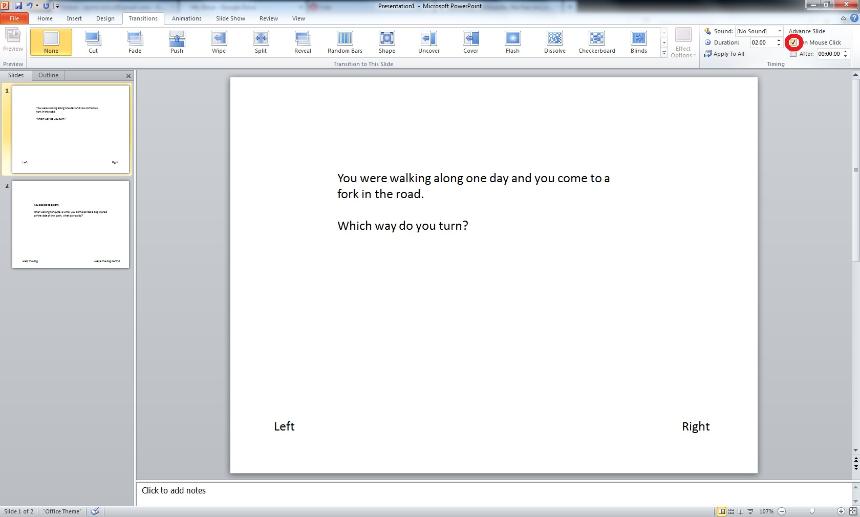
1. At the top left of the screen click the button that says 'Insert' - this is very close to the 'Transitions' button we used in step 19

2. Click 'Picture'

3. FInd out where you saved your picture. Click it and then click the 'Open' button.

4. Yay! You've got a picture in your Slide Show!

EXTRA! If you need to save an image from the internet, Right Click the picture and click the 'Save Image As' option.

Make a free website with Yola